Activate LiveNX license
This section guides you on how to sign up for and activate a Cloud License in LiveNX.
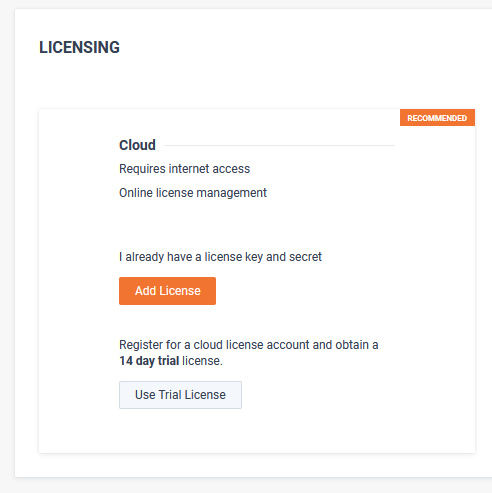
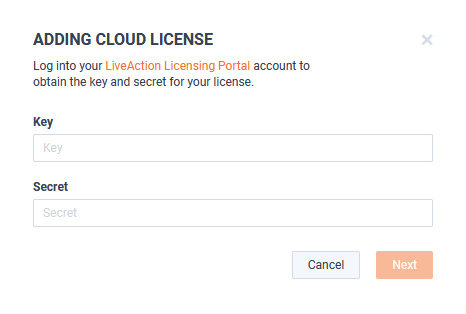
1. If you already have a license, click on . You can grab the Key and Secret from your LiveAction Customer portal.
2. If you do not have a license, you can register for a Trial license by clicking on . Fill up the form.
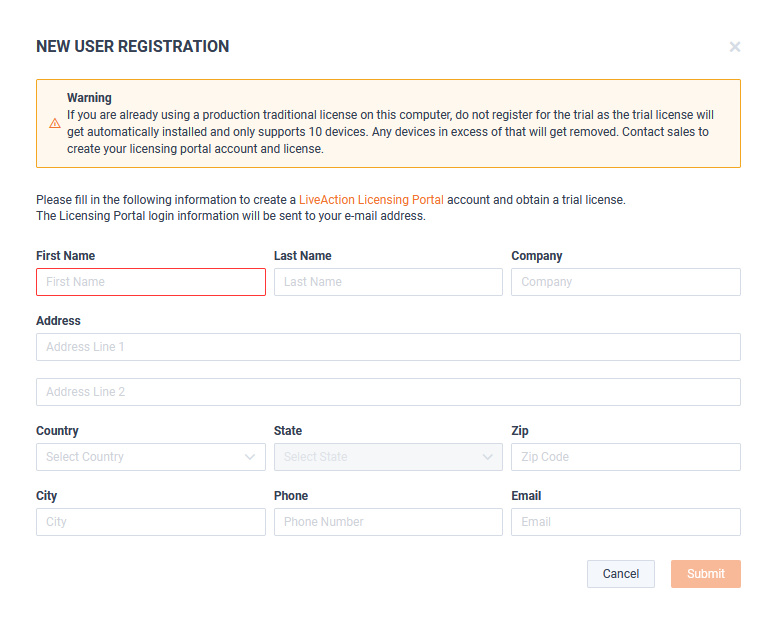
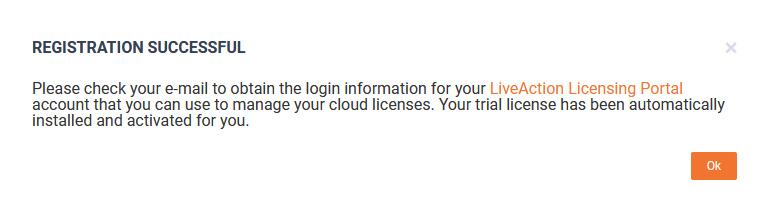
3. Upon clicking , a Registration Successful popup will appear with instructions on how to access the LiveAction Customer Portal.
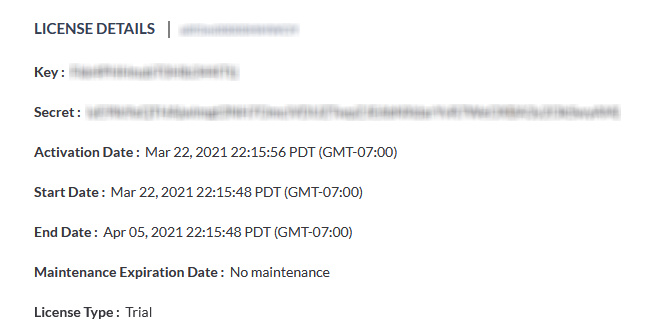
4. Your LiveNX Server will obtain a “Trial License” with all the details as shown below.

5. Now, you can explore various LiveNX features by clicking on the
 icon at the top-left of the screen.
icon at the top-left of the screen.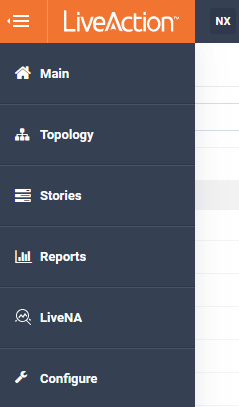
If you have any questions about getting a trial license, please contact LiveAction support: support@liveaction.com.
CloudKeys - Cloud license portal
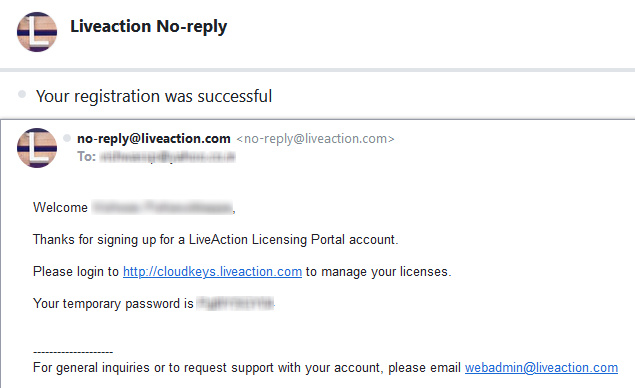
The cloud license portal allows you to manage your LiveNX licenses. When you initially signed up for a trial cloud license, you should have received an email with your credentials to login into the Cloud license portal.
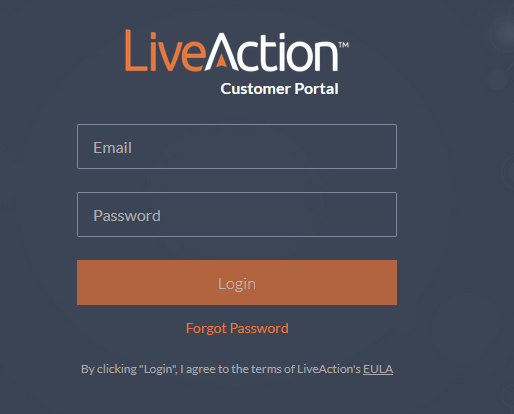
1. Open a browser and go to https://cloudkeys.liveaction.com. Login with your credentials.
2. You will be prompted to change your password. Enter a new password and save changes.
3. Click at the top to view your current License.
4. If you would like to view your license details, click on the License number to view your Key and Secret.